Do you want to learn how to change grips on a Harley Davidson? If so, you have come to the right place! In this blog post, we will walk you through the process step-by-step.
If you’re considering replacing your Harley grips, you’re probably doing so to solve one of two problems. The existing grips are either causing hand issues, or you don’t like the appearance of what’s currently on your bike. For me, it was a mix of both. The stock Harley-Davidson handles are unattractive as well as ineffective. Therefore I knew it was time for a change.

You can choose two main types of grips: rubber and foam. Each type has its own set of pros and cons.
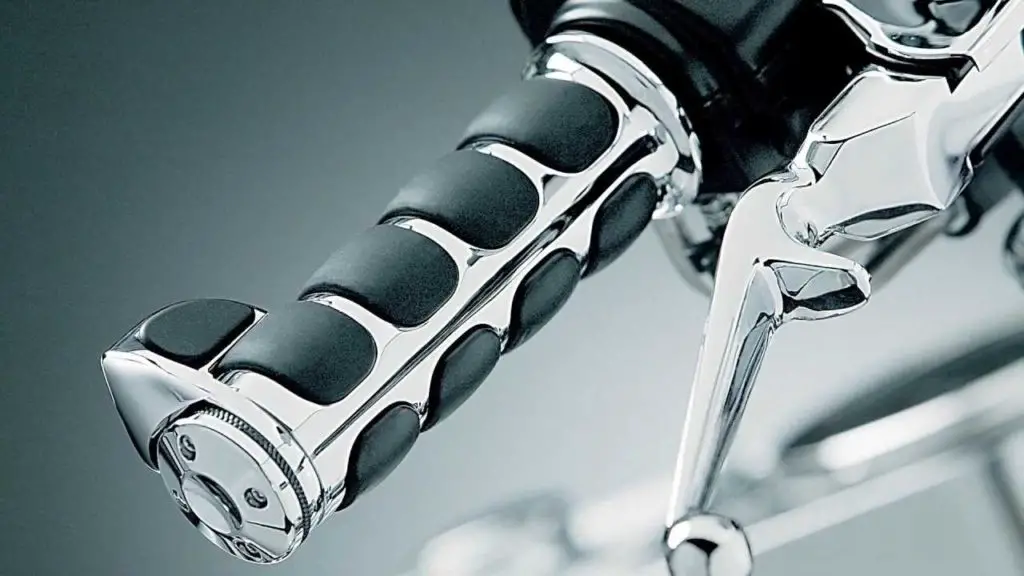
Once you have decided on the type of grip you want, it’s time to choose a brand. Many different brands out there make grips for Harley Davidson motorcycles. After researching, I decided to go with the Kuryakyn Premium Grips.
Changing the grips on your Harley is a relatively easy task and can be completed in just a few minutes. You will need some basic tools and supplies, which we will list for you below.
So, without further ado, let’s get started!
First, you will need new grips. I would recommend the Kuryakyn Grips, but you can choose whatever brand and type you prefer. Here is why I choose these grips.
Quick Article Navigation
Kuryakyn Premium Grips
It’s no secret that Kuryakyn makes some of the best motorcycle accessories on the market. And their Kuryakyn 6228 Premium Grips are no exception.
I would certainly recommend these grips if you can afford them. Other affordable grips do the same trick out there, but I admire Kuryakyn products as they are well worth their price.
Plus, they just look really cool. So if you’re in the market for some new motorcycle grips and you want the best of the best, go with Kuryakyn. You won’t be disappointed.
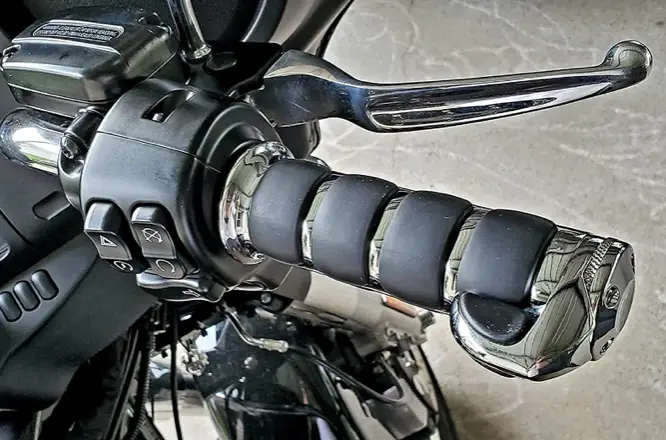
These grips feature unique recessions between grip pads to allow for airflow, providing added relief from the heat. The removable end caps also allow for use with stock air reservoir-type handlebars.
Plus, the matching contoured Throttle Boss helps relieve forearm fatigue.
The Process
Here is a list of the tools and supplies you will need:
– New grips (Kuryakyn recommended)
– Screwdriver
– Grip adhesive (optional)
– Alcohol wipes (optional)
Now that you have gathered your tools and supplies let’s get started!
Removing Stock Harley Grips
Before installing your new Kuryakyn grips, you must remove the old ones. Thankfully, this is a pretty straightforward process.
First, loosen the housing on the throttle side. Next, slide the grip off from the handlebar. Then, loosen the housing on the clutch side. Finally, pry or cut the grip off from the handlebar. And that’s it!
Removing the stock grips is usually a straightforward procedure for most bikes. You’ll almost certainly need to remove the housing on the throttle side, and then the grip will just pop off.
If you have an application with a tube inside the throttle grip, it is possible to save it. You can do this by splitting the grip with a sharp knife and then peeling it away from the tube. If you do not have an aftermarket grip, you will find that they come with a replacement tube.
As anyone who’s ever tackled a home improvement project knows, the first step is always the hardest. The same is true when it comes to my Harley-Davidson: getting the grips off was a bit of a struggle. But once I got started, it was a piece of cake.
Installing New Grips
Now that you have your new grips, it’s time to install them! This process is pretty much the reverse of what you just did.
The next step in installing your new throttle is to slide the grip (or throttle tube, if you’re using one) into place. If you’re going with the throttle tube route, just slide the grip over the tube. Once everything is where it should be, go ahead and tighten down the housing. Make sure to check that the grip returns to neutral when released; if it doesn’t, you can try adjusting the housing tightness or sliding the grip out slightly. And that’s it! You’re now ready to enjoy a smoother, more responsive ride.
Tips and Tricks
– If your new grips come with adhesive, you can apply it to the inside of the grip before sliding it onto the handlebar. This will help to keep everything in place and prevent slippage.
– Use alcohol wipes to clean off the handlebar before installing new grips. This will help to ensure that the grip adheres properly.
– Make sure to allow the adhesive to dry completely before riding; otherwise, you run the risk of the grip coming off while you’re on the road.
Frequently Asked Questions
How do you put a rubber grip on a Harley Davidson?
The process for putting a rubber grip on a Harley Davidson is pretty straightforward. First, you’ll need to remove the old grips (see above for instructions on doing this). Once the old grips are off, you can then install the new ones by sliding them onto the handlebar. If you’re using an adhesive, be sure to apply it to the inside of the grip before sliding it on. Once everything is in place, allow the adhesive to dry completely before riding.
How often should you replace your motorcycle grips?
There’s no set answer for how often you should replace your motorcycle grips. However, inspecting them regularly for signs of wear and tear is generally a good idea. If you notice any cracks, splits, or other damage, it’s probably time to replace them. Additionally, if your grips are starting to feel slippery or worn down, they may need to be replaced.
How do you change the grips on a Harley Davidson Sportster?
Changing the grips on a Harley Davidson Sportster is similar to other models. First, you’ll need to remove the old grips (see above for instructions on doing this). Once the old grips are off, you can then install the new ones by sliding them onto the handlebar. If you’re using an adhesive, be sure to apply it to the inside of the grip before sliding it on. Once everything is in place, allow the adhesive to dry completely before riding.
What size are stock Harley grips?
To pick a grip, choose between two standard sizes: 1″ or 7/8″. Most 1″ diameter grips are intended for street/metric bicycles, whereas 7/8″ dia. grips are more frequently seen on Harley and Cruiser motorcycles.
How do I know my motorcycle grip size?
The easiest way to determine your motorcycle grip size is to measure the handlebar. To do this, wrap a measuring tape around the handlebar where the grips would go. Once you have your measurement, refer to a grip size chart to determine which size grips you need.
Are Harley grips attached to the handlebars with glue?
No, Harley grips are not glued on. They are held in place by either an adhesive or by the tightness of the grip itself.
Is it worthwhile to get heated grips for my Harley?
Heated grips can be worth it, especially if you ride in colder climates. They can help keep your hands warm and prevent them from getting numb. However, they are not necessary for everyone. If you don’t think you’ll use them often, you may want to skip them.
Final Words
That’s it! You now know how to change grips on a Harley Davidson. This process is pretty straightforward and can be done in minutes. Just be sure to follow the instructions carefully and take your time. And if you have any questions, feel free to ask in the comments section below. Thanks for reading!

